Difficulty
More wing area
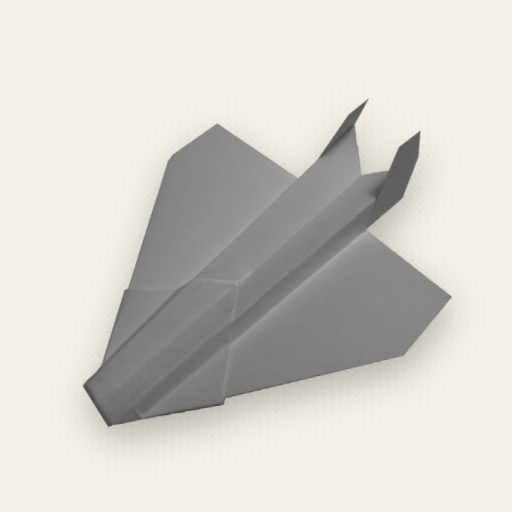
P12 Raptor
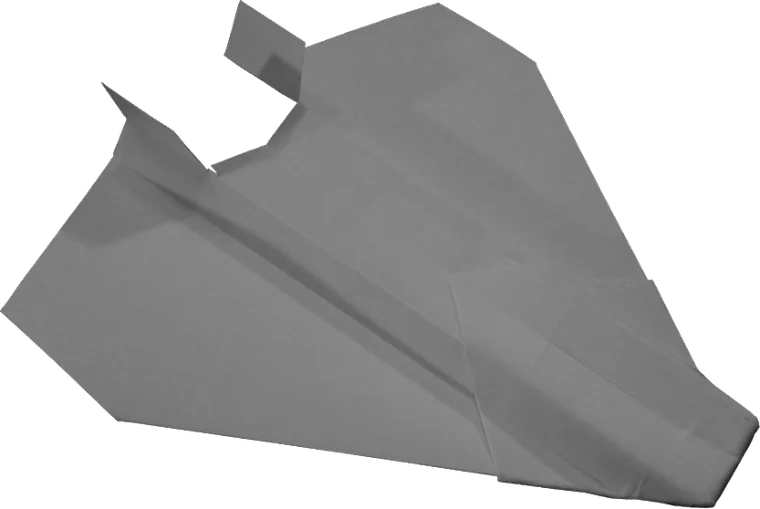
Wider M-fuselage for extra lift. Flaps sit closer to the centre of gravity, so adjustments stay subtle.
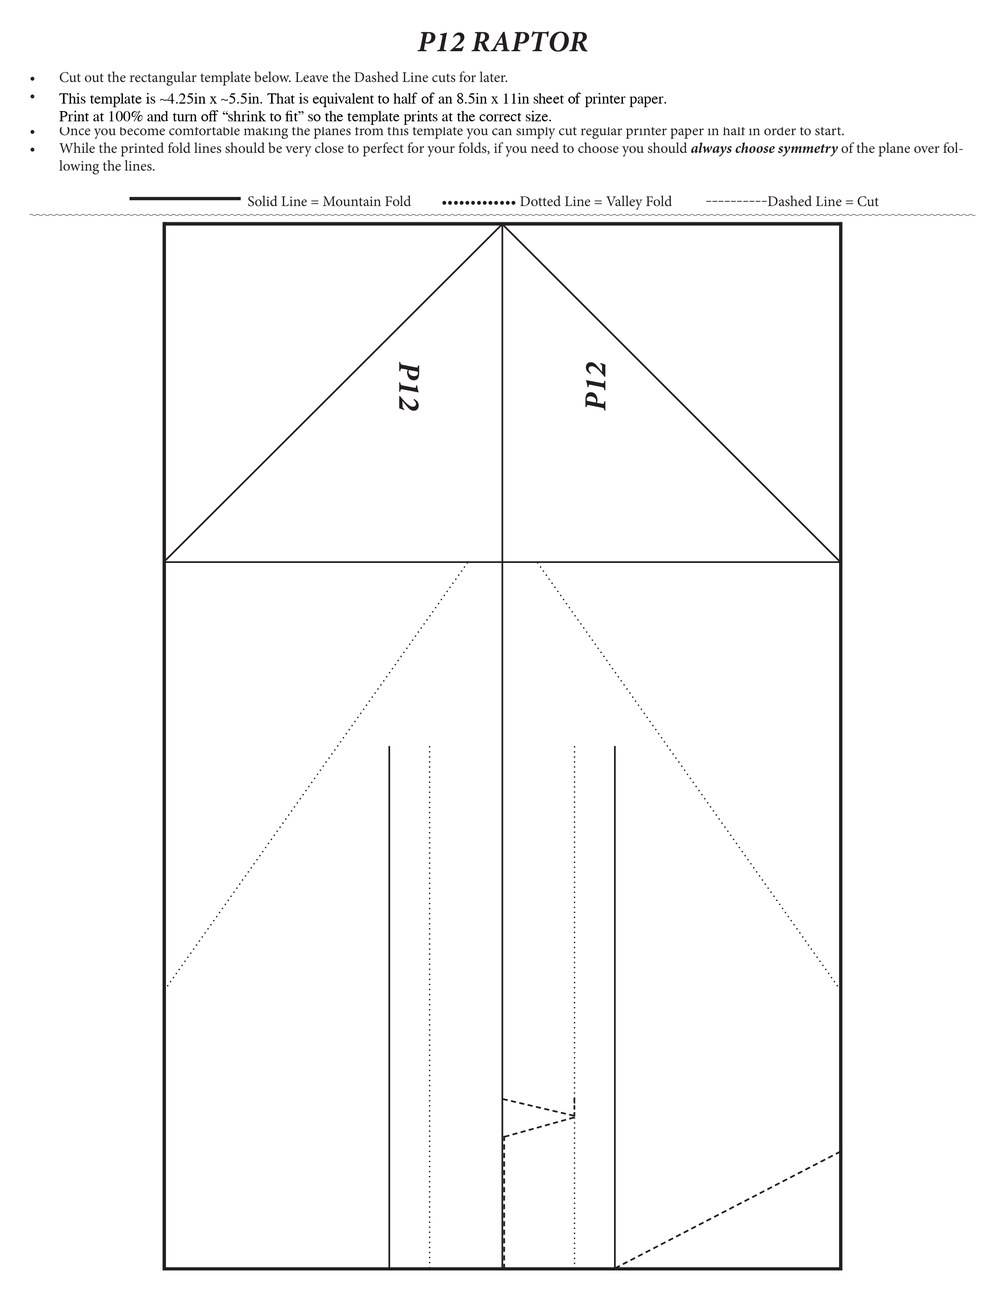
Construction template
Print the P12.
More wing area means a stronger glide. Because the flaps sit near the centre of gravity, small inputs give smooth, predictable response. Simple construction makes for quick fun.
One letter-size sheet. The template area is about 4.25″ × 5.5″ — half a sheet. Print at 100%, with shrink-to-fit off.
Mountain
Valley
Cut
Build facts
Steps
24
Namesake
F-22 Raptor
Full step-by-step folding instructions for the Raptor are in the ebook and the PaperPilot app.
Before you start
What you'll need
- Basic 8.5in × 11in printer paper. The designs fly great on regular paper, but 32lb/ream stock holds its shape better in flight, giving higher and more exciting flights.
- A pair of scissors sharp and small enough to make precise cuts.
- Clear adhesive tape.
- A paper clip — the planes are designed around #1 size clips, 3.2cm × 0.8cm.
- Optionally a straight edge or ruler, if you don't trust your folds.
Template instructions
How to use it
- Cut out the rectangular template. Leave the dashed-line cuts for later.
- The template is about 4.25in × 5.5in — half a sheet of letter paper. Print at 100%, with shrink-to-fit turned off, so it comes out at the right size.
- Once you're comfortable with the design, you can skip the template and just cut regular printer paper in half.
- The printed fold lines should be very close to perfect, but if you have to choose, always choose symmetry of the plane over following the printed lines.